
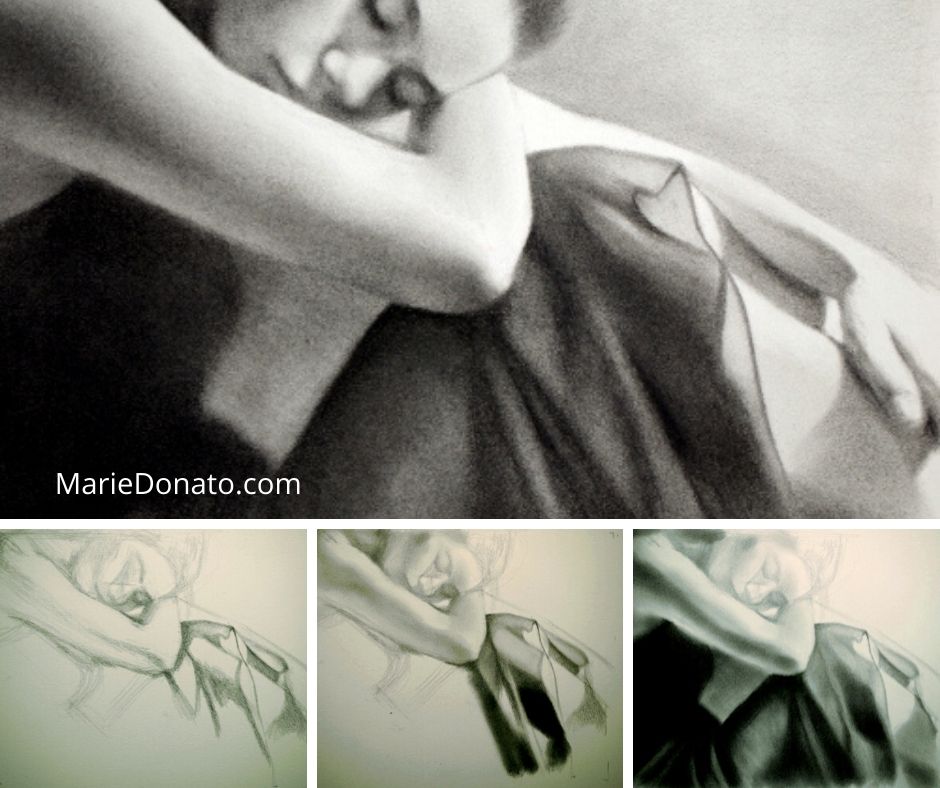
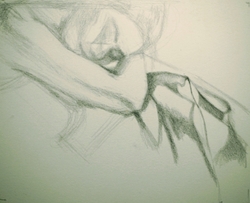
  Welcome to a Fun Step-by-Step Drawing Demonstration 5 Easy Steps to Drawing! Drawing is the foundation of all art. Sometimes you may not know where to start... or just starting a drawing seems a bit overwhelming. Here is my approach to drawing in 5 easy drawing steps. I hope these steps will help you as they have helped many of my art class students! Step 1) Geometric Shapes and Angle of the Gesture Here lightly sketch the oval shape for the head, and the overall angle of the body, moving diagonally from upper left to lower right of the page. The diagonal provides strength to the composition. Proceed with shapes that you see to help you sketch the drawing. Continue on by progressing from large shapes to the smaller shapes and block in the facial features, more clearly, now. 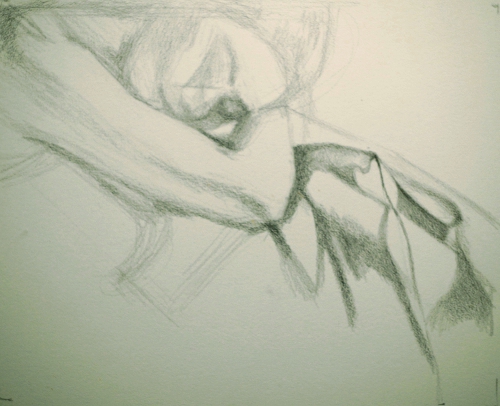 Step 2) Vertical and Horizontal Check In this step, it is critical to get the largest shapes possible decided upon and to slowly get the proportions correct. A helpful tip is to check how things line up vertically as well as horizontally. What I mean is, if you put a vertical imaginary line along the hairline, it would be in line with the outside of the arm and shadow shapes of the skirt. And an example of lining up horizontally, would be the top of the shoulder lines up with the outside corner of the eye. 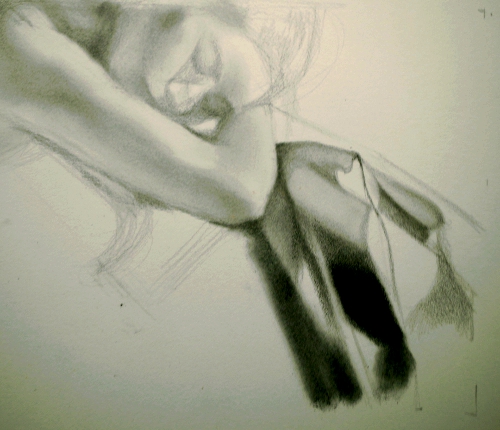 Step 3) Soft and sketchy In the beginning there is a lot of checking relationships back and forth, erasing, correcting and making sure the foundation of the drawing is correct. In this stage keep the lines very soft, sketchy and easy to erase. Many of the extra lines will get covered up in the shading. So the drawing, at this time, is a very loose and changing sketch before the shading is started. Once you have decided for sure on the correct proportions and lines, then darken those lines and pursue the shading more seriously. 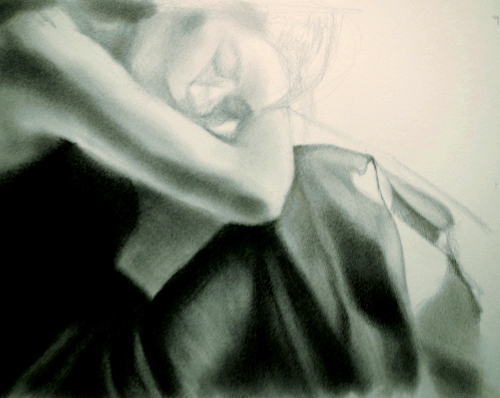 Step 4) Dark Values Next continue to block in the values or shading and try to find the darkest darks. Pay close attention to seeing the value shapes of darks and lights. Working on the values and keeping the darks consistent throughout the drawing is key. Step 5) Attention to Edges More shading is put in now as the dark values are deepened. Then finally much attention is given to the edges of the value shapes. Ask yourself, are the edges crisp and hard or fuzzy and soft? So a lot of sensitive adjusting to the edges happens at this time. Generally, most of the focused or crisper edges are at the focal point, which is the face and the diagonal created by the arm and legs. 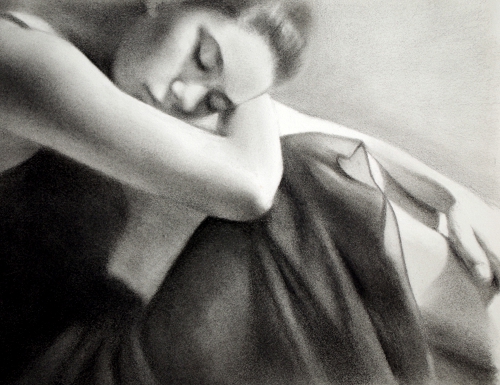 And the portrait drawing is finished!
I hope you found this demo helpful. Would you like to see more step-by -step demos? Don't hesitate to drop me a line..... Thank you for visiting! Art Class Information Here Comments are closed.
|
Categories
All
SUBSCRIBE
|
 RSS Feed